
Using ArcGIS CityEngine for GeoDesign on McMaster Campus: Part 1
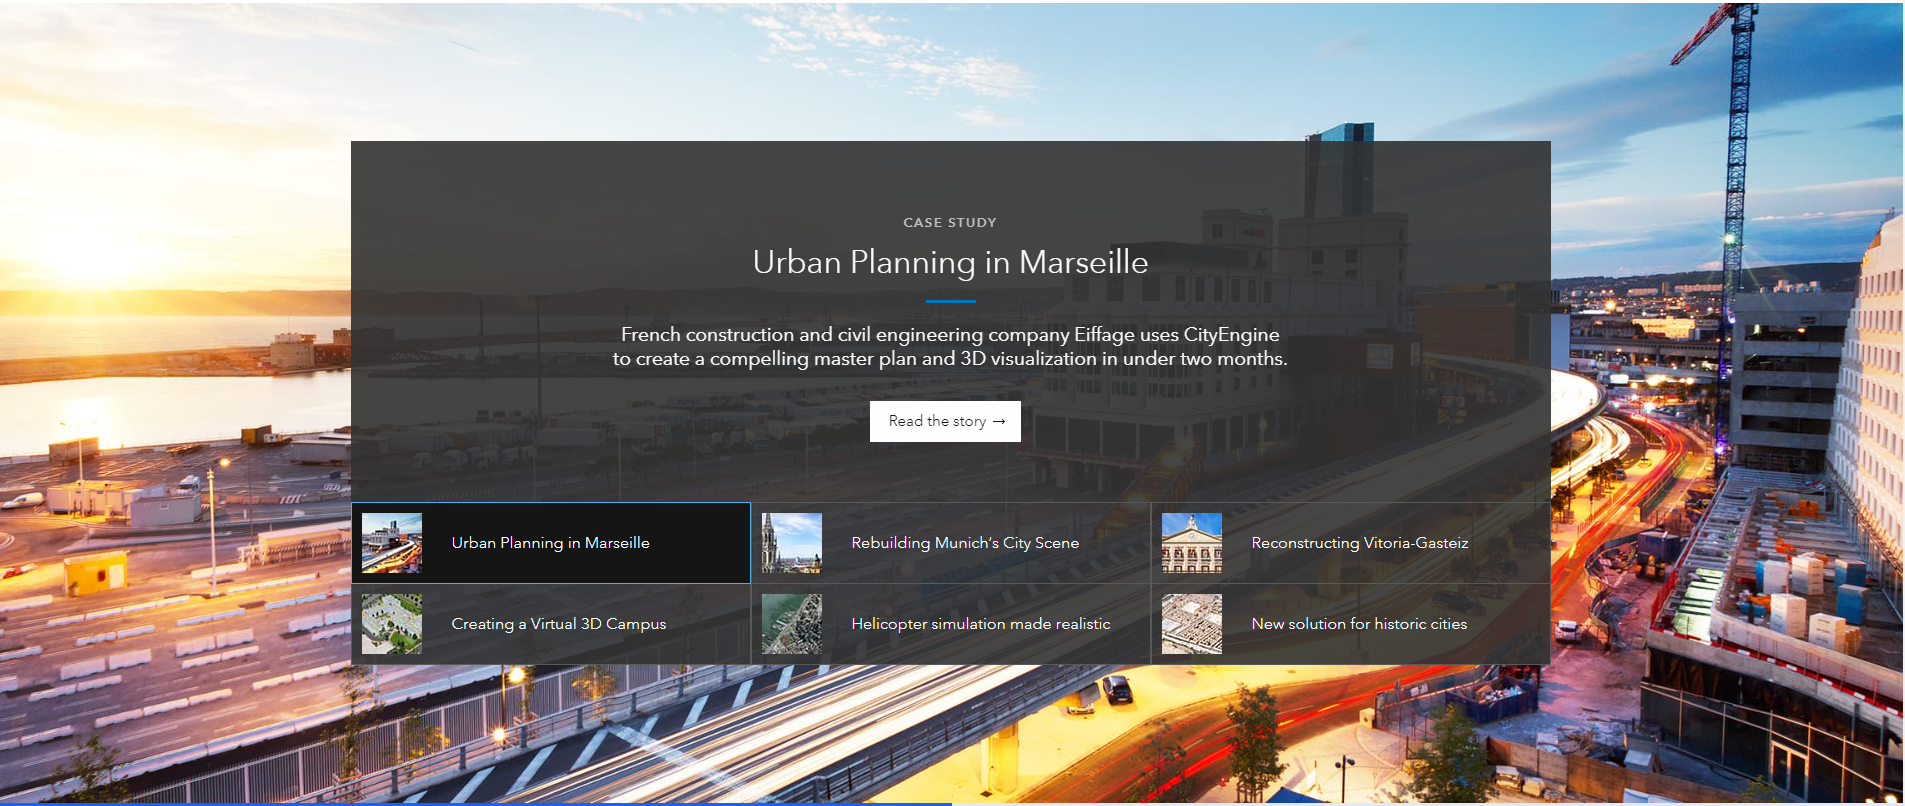
Esri’s ArcGIS CityEngine is an advanced three-dimensional (3D) modelling software for creating realistic, interactive, and immersive urban environments (Fabricius, 2020). CityEngine allows users to build entire 3D cities effectively in one step, design urban environments, master 3D content creation, and bring a community vision to life (Fabricius, 2020). If we take a look at case study, there are many successful stories about applying CityEngine in regional and urban planning projects to facilitate planning workflows effectively (Fig. 1). But what if we zoom closely into a larger scale? The project discussed in this 2-part blog post was designed to explore the capability and performance of CityEngine applied in a local-scale planning project (such as McMaster University).
Overview of workflow:
Step 1) Prepare and process data in ArcGIS Pro:
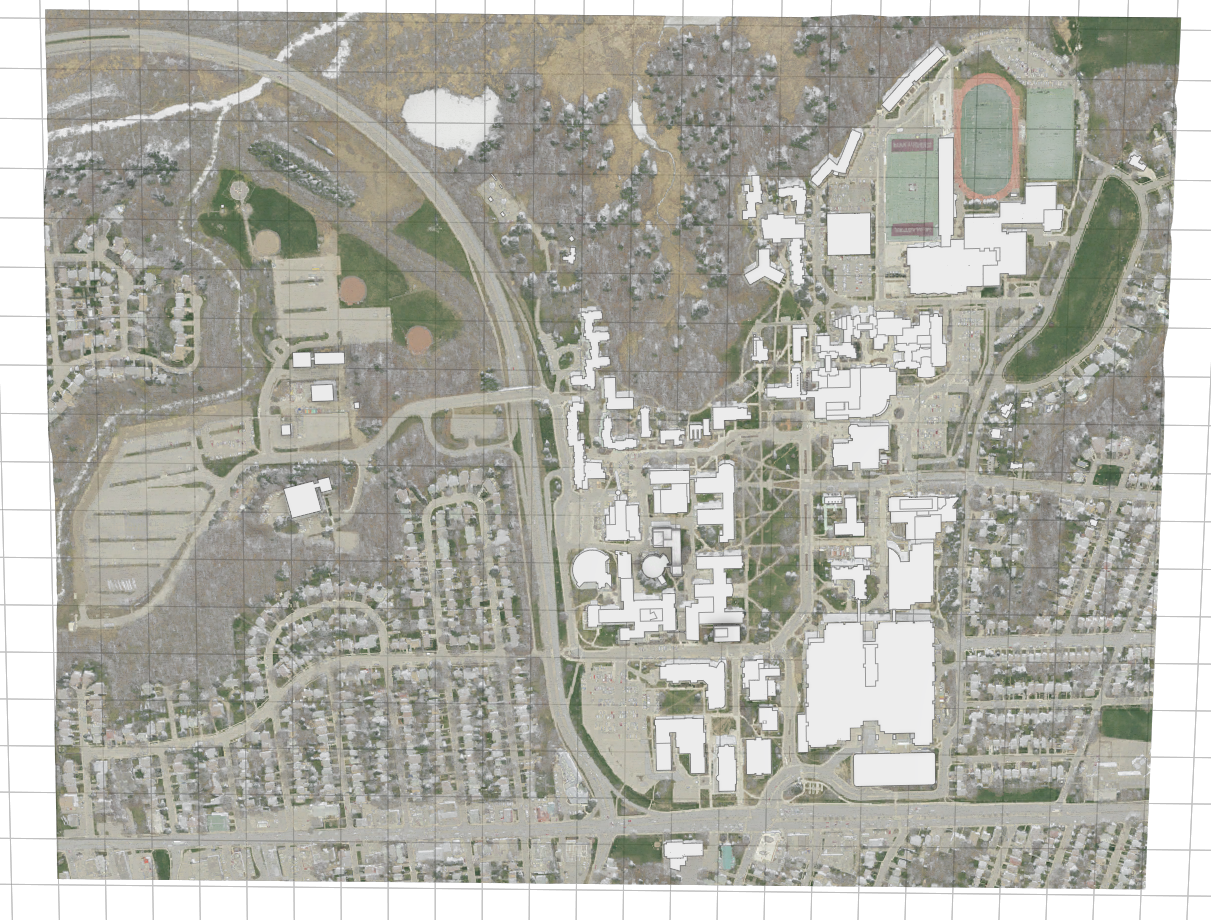
Through the 2015 Southwestern Ontario Orthophotography Project (SWOOP), aerial images with 20 cm resolution and digital terrain model (DTM) images with 2 m resolution were downloaded from the Scholars GeoPortal. They were assembled into single images in ArcGIS Pro by using the Mosaic To New Raster tool and they were clipped to the extent of McMaster University by using the Clip Raster tool. The campus building footprints were obtained from the McMaster Facilities Services as a CAD file. It was georeferenced and converted into the shapefile by using the CAD to Geodatabase tool in ArcGIS Pro.
Step 2) Create a new project, scene, and terrain layer in CityEngine 2020.0:
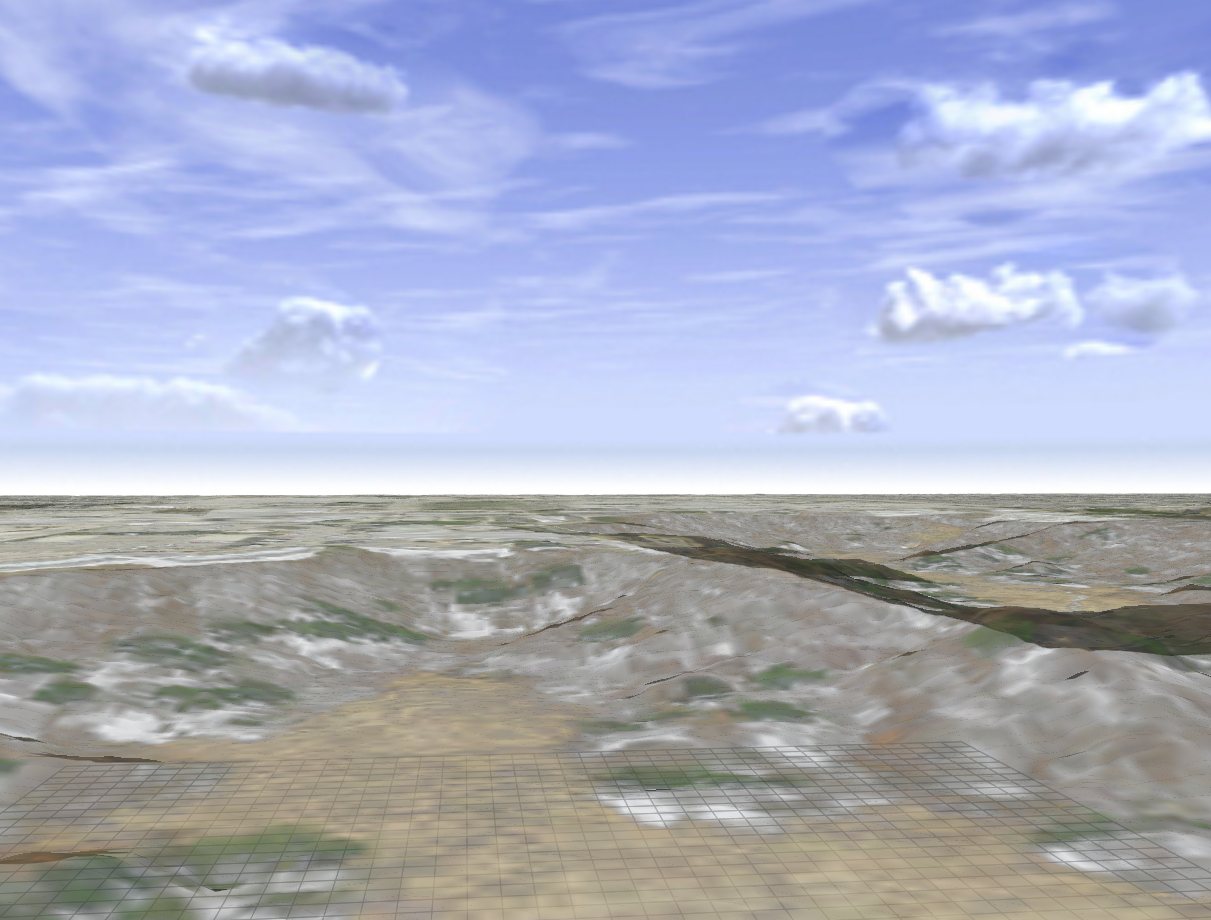
A new project and scene were created in CityEngine with WGS 1984 Web Mercator (auxiliary sphere) set as the spatial reference. All the data derived from the previous step were imported into CityEngine by simply dragging and dropping them to the viewport. The DTM (heightmap file) and aerial image (texture file) were used to create a new terrain layer in CityEngine (Fig. 2). A terrain layer combines elevation information from the DTM with the aerial image to create a realistic terrain surface (Fig. 3).
Step 3) Construct the 3D environment for McMaster University – model import:
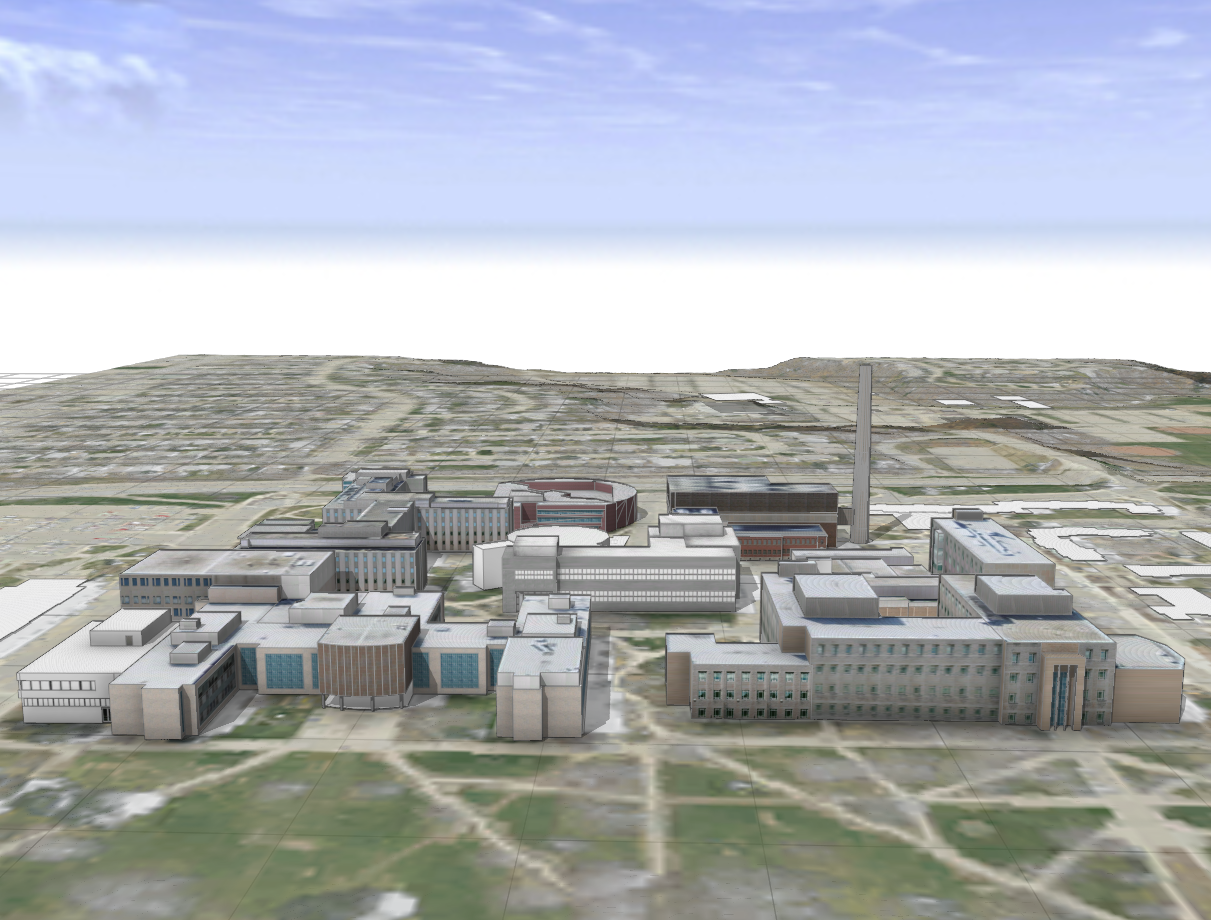
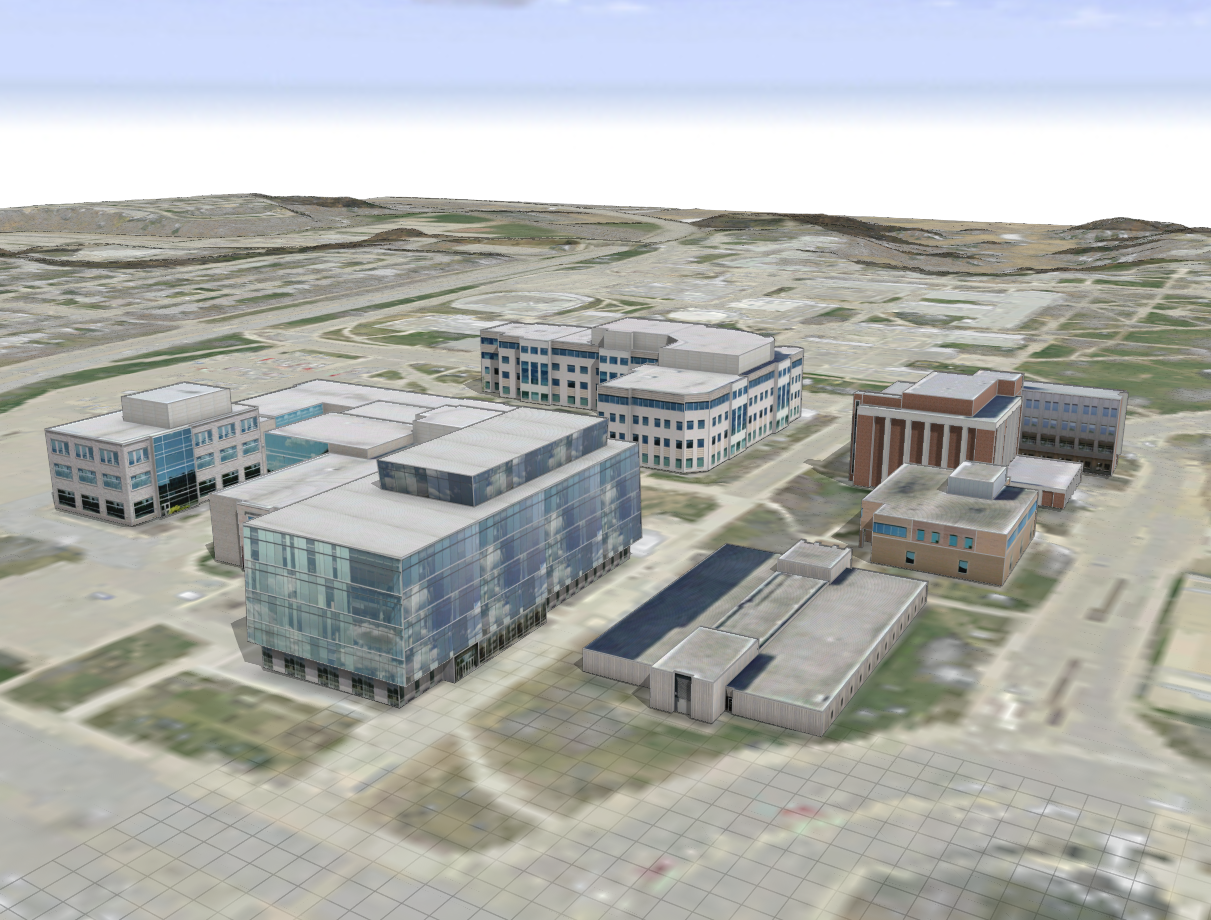
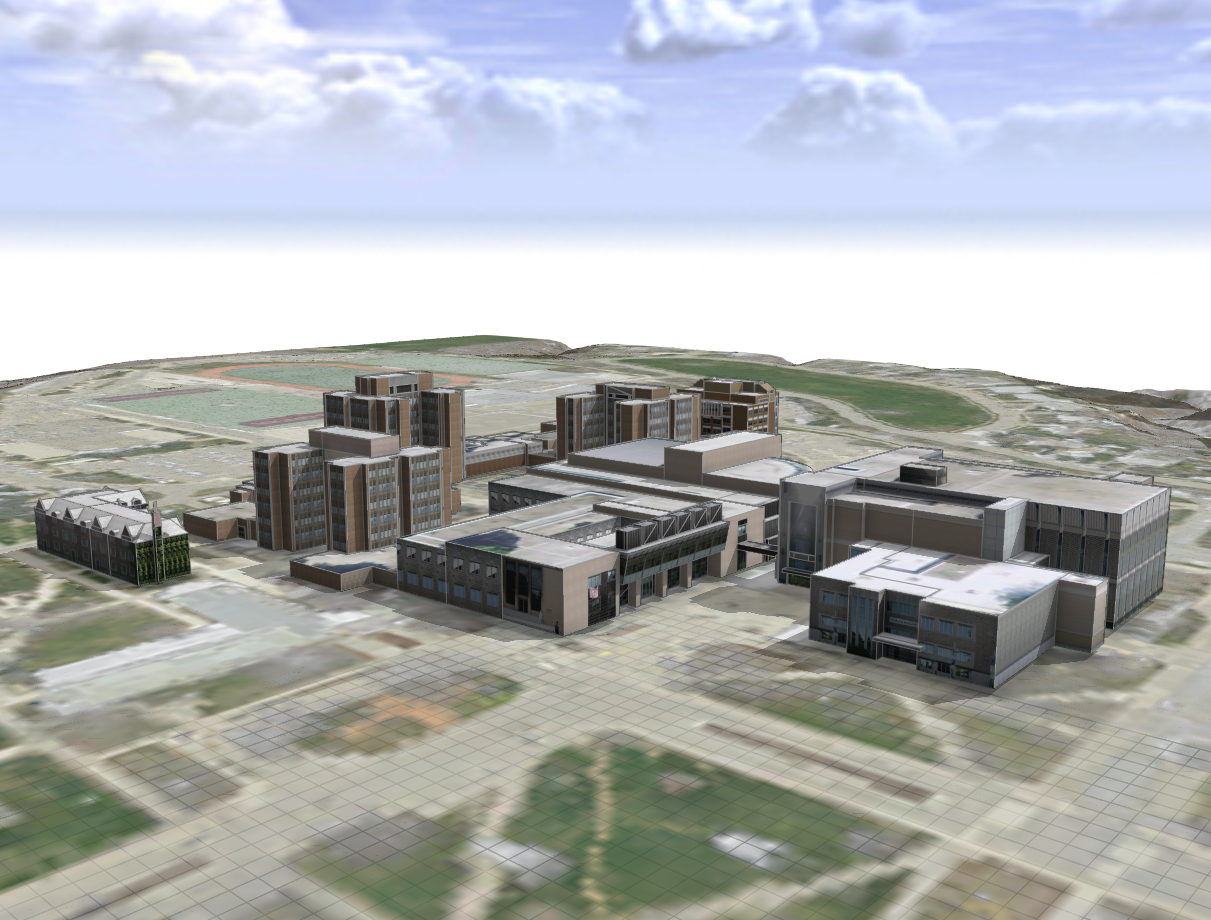
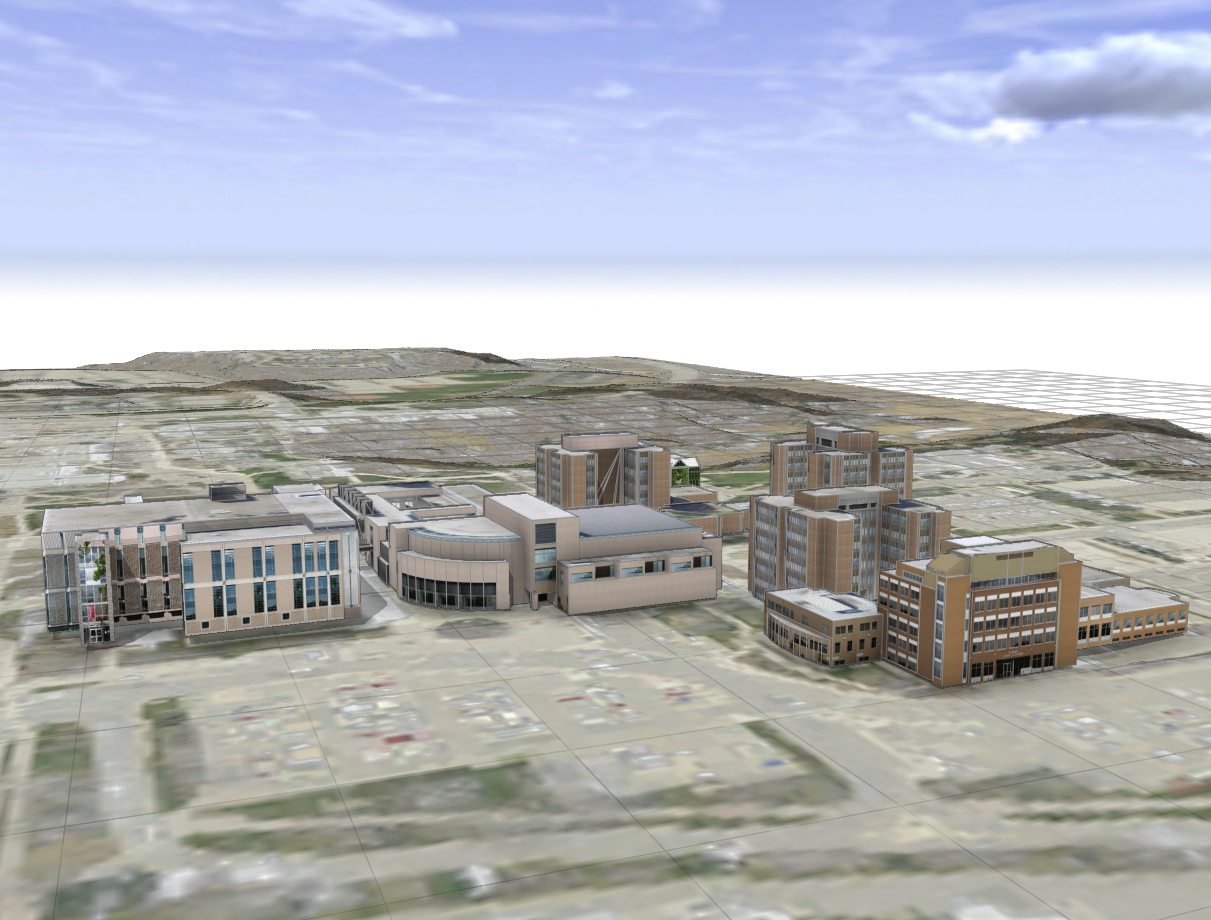
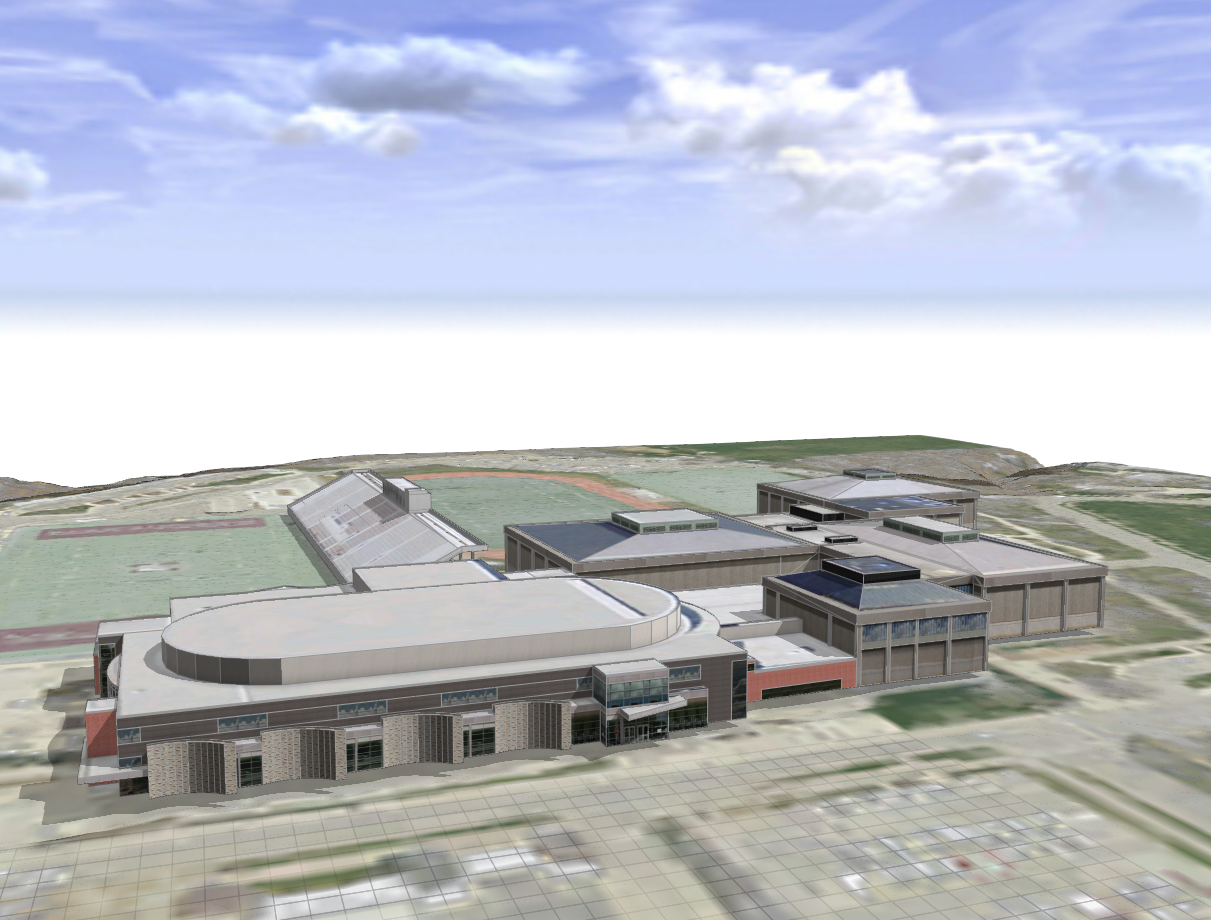
Some pre-existing 3D models have already been created for the campus buildings in SketchUp, which are open to the public and free for download in Keyhole Markup language Zipped (KMZ) format through 3D Warehouse for SketchUp. These KMZ building models were imported into CityEngine and converted to shapes using Convert Models To Shape tool. The Cleanup Shape tool was used to simplify the number of vertices and reduce file sizes (Piccione & Fuhrmann, 2016). By using the Transform tools, models were manually placed in the correct locations and were scaled to the correct sizes based on the underlying building footprints. Lastly, models were adjusted to the correct elevations based on the underlying terrain layer through the Align shapes to terrain tool. Here are the snapshots of the imported building models (Fig. 4-8).
The steps outlined so far provided a starting point for a local-scale 3D model of the McMaster University campus. However, not all of the campus’ buildings have 3D models available from 3D Warehouse. Continue reading Part 2 of this blog to learn how the 3D modelling capabilities of CityEngine were used to construct the remaining buildings from 2D building footprints.
References:
Fabricius, T. (2020, June 8). CityEngine 2020.0 release highlights. ArcGIS Blog. https://www.esri.com/arcgis-blog/products/city-engine/3d-gis/cityengine-2020-0-release-highlights/
Piccione, M., & Fuhrmann, S. (2016). Creating a 3D Campus Scene Using Esri CityEngine. Esri Newsroom. https://www.esri.com/about/newsroom/arcuser/creating-a-3d-campus-scene-using-esri-cityengine/