
Getting Started with ArcGIS Experience Builder Dev Edition
This post is part of a series on developing web maps, apps, and dashboards using Esri technology. This post will go over how to get started with ArcGIS Experience Builder Dev Edition, compare Experience Builder Dev to Experience Builder in ArcGIS Online and to the ArcGIS SDK for JavaScript, and provide some additional resources to help you with your Experience Builder journey.
This post is adapted from a hybrid workshop that I delivered to the University of Waterloo ECCE group in July of 2023.
What is Experience Builder Developer Edition
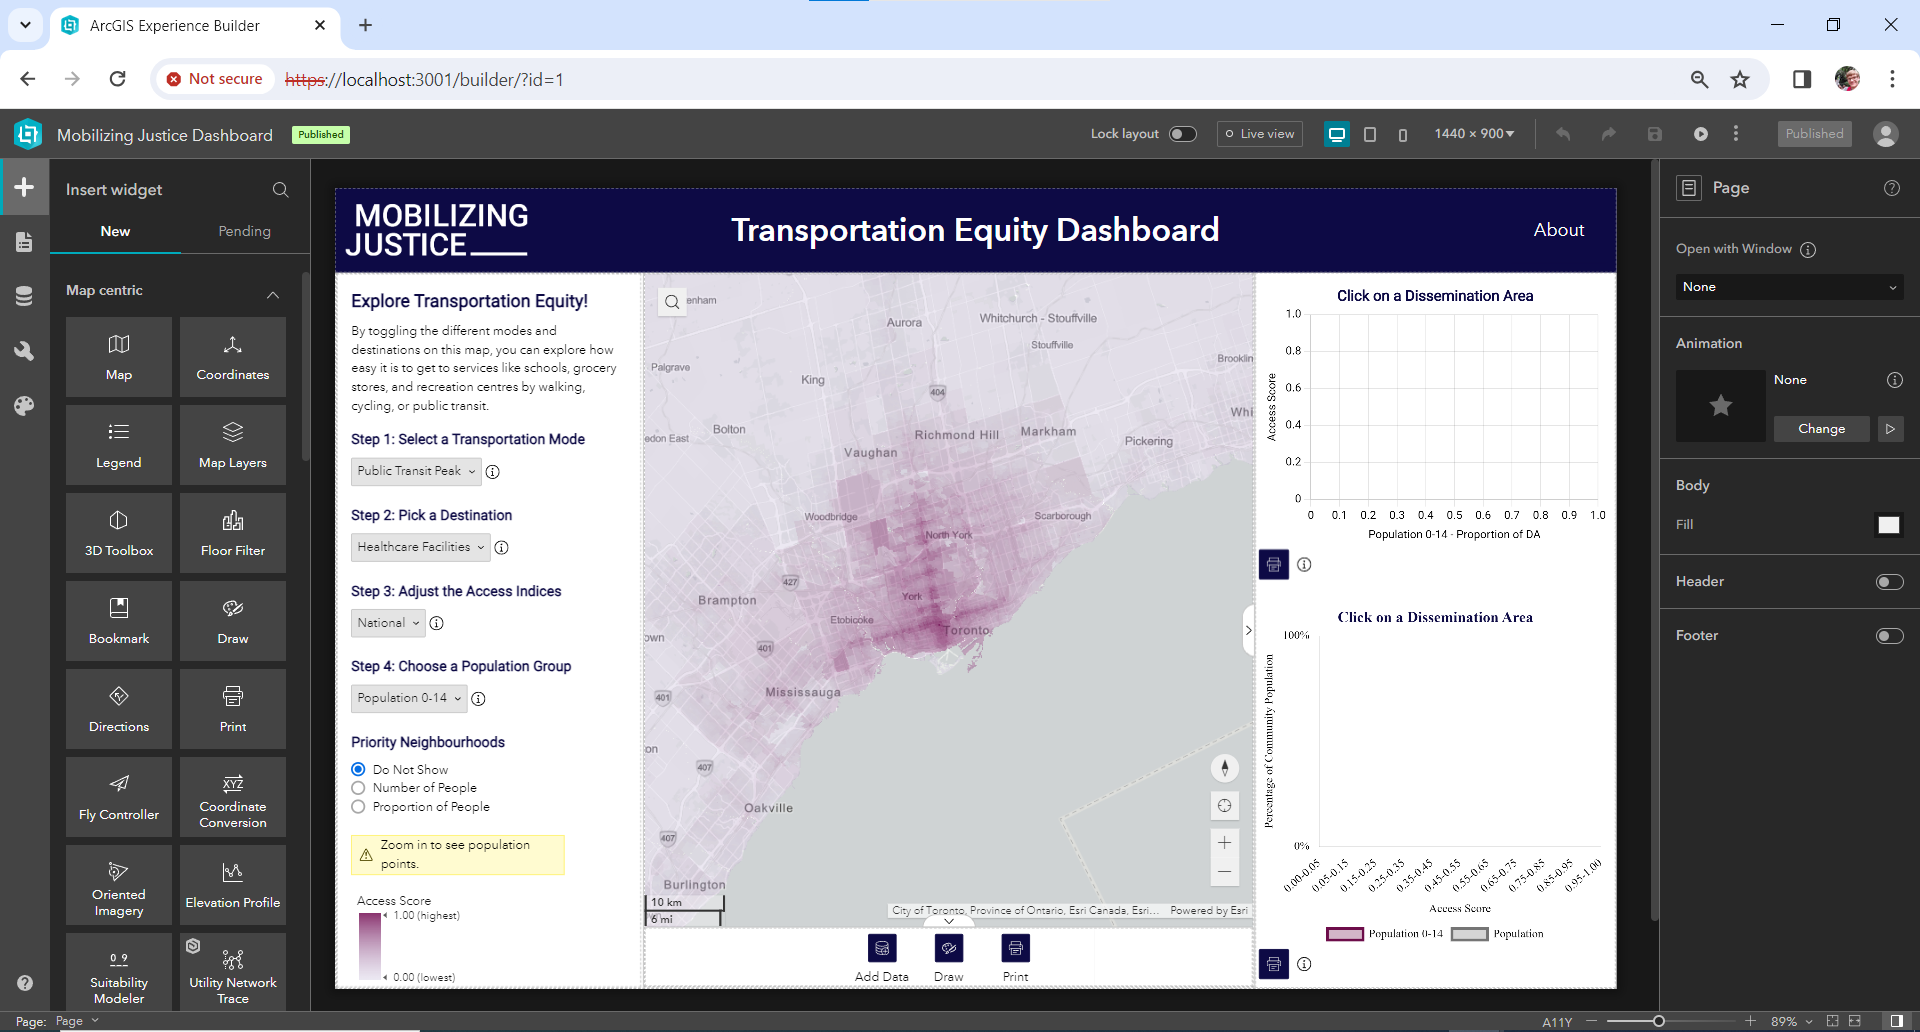
ArcGIS Experience Builder is a tool that helps you quickly build interactive web maps, apps, and dashboards. Experience Builder provides an intuitive, drag-and-drop interface, allowing you to build rich, responsive map-based websites with ease. Its pre-made widgets, which include maps, charts, legends, and querying tools, can be arranged in this interface, allowing you to quickly assemble your web map.
Experience Builder Developer Edition allows you to extend Experience Builder by creating customized widgets and themes using HTML, CSS, and JavaScript within the React web framework. This allows you to build more complicated apps than is possible with normal Experience Builder, such as ones including customized charts, layer selection tools, or styles. Dev edition allows you to use the same drag and drop interface that you can use in normal Experience Builder, along with any of Experience Builder’s out-of-the-box widgets and themes.
Experience Builder Dev vs. Experience Builder in ArcGIS Online
As was eluded to above, ArcGIS Experience Builder is also available as a no-code, out of the box tool within ArcGIS Online (as well as within ArcGIS Enterprise). The ArcGIS Online version of Experience Builder is becoming more feature-rich as widgets from the soon-to-be retired ArcGIS Web AppBuilder are being migrated to Experience Builder. However, as with any no-code tool, you have limited control over the widgets you have available, as well as the styling/appearance of your website. Here are some key differences between Experience Builder in ArcGIS Online and Dev Edition:
| Online | Dev | |
| Coding knowledge required | None | Knowledge of HTML, CSS, JavaScript, React |
| Development environment | Online | On your own machine |
| Hosting | Within the ArcGIS Online environment | Your own static web server (e.g. GitHub Pages) |
| Customizability | Out of the box widgets and themes with some configurable settings | Ability to use out of the box widgets and themes, or to build your own widgets and themes from scratch |
Prerequisites
To work with Experience Builder Developer Edition, you must first have a solid understanding of web development fundamentals, namely HTML, CSS, and JavaScript. Since Experience Builder Dev is written in the React web framework, you must also have a solid foundation in that as well. Finally, you must have a basic knowledge of Node.js and NPM (Node Package Manager), as these tools allow you to run an instance of Experience Builder on your local machine. Free tutorials on HTML/CSS/JavaScript, React, and Node.js are readily available on YouTube, W3schools, and other websites.
Setup
Once you have a knowledge of the web technologies above, you can start setting up Experience Builder Dev on your own machine. To set up Experience Builder Dev, follow the steps below:
- Log into your ArcGIS Developers Dashboard and register a new application under the “OAuth 2.0” tab. When you are registering your new application, be sure to include “https://localhost:3001/” under your redirect URLs. This will create a new API key.
- Copy the “Client ID” from this new API key and paste it somewhere for later.
- Download the latest version of Node.js onto your machine.
- Download VSCode onto your machine.
- Download ArcGIS Experience Builder Dev Edition.
- Open VSCode.
- Open the “server” folder from your ArcGIS Experience Builder Dev Edition installation in VSCode.
- Open a terminal in VSCode through the top menu by clicking “Terminal>New Terminal”.
- In your terminal, type the following commands:
- cd server
- npm ci
- npm start
- In your web browser, navigate to https://localhost:3001/. You should see Experience Builder running on this web page. This web page is running on your local machine.
- On this web page, sign into your ArcGIS Online account.
- Copy and paste the “Client ID” you obtained from step 2 as prompted.
- Back in VS code, open a second terminal using the same method as in step 8.
- In your second terminal, enter the following commands:
- cd client
- npm ci
- npm start
- Your instance of Experience Builder Dev Edition is now running.
Restarting your Experience Builder Dev Instance
Each time you wish to work with Experience Builder Dev, you must first start it up by following the steps below:
- Re-open Experience Builder Dev Edition in VS Code. Create two new terminals.
- In your first terminal, run the following commands:
- cd server
- npm start
- In your second terminal, run the following commands:
- cd client
- npm start
Creating a Custom Widget
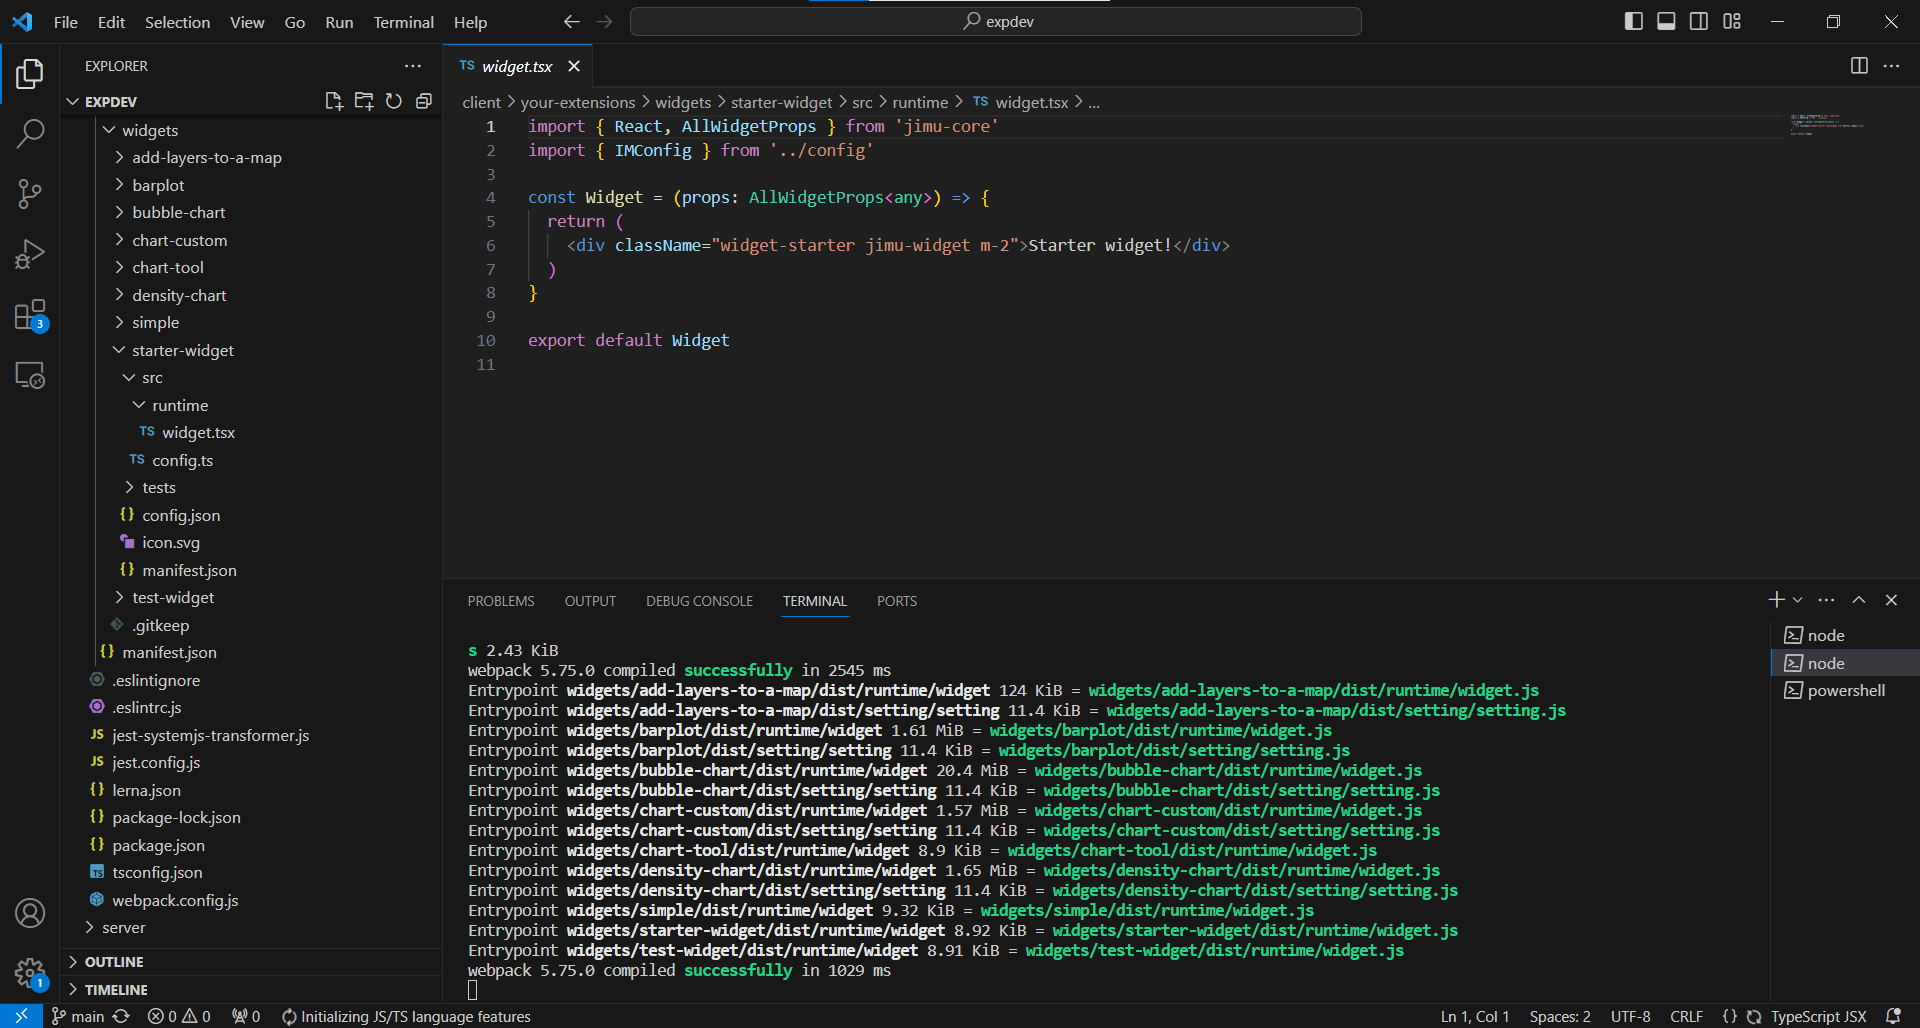
Now that you have your instance of Experience Builder Dev Edition up and running, you can start building custom widgets. Experience Builder Widgets are built using the React web framework, as well as an Esri-made JavaScript Library called Jimu. Jimu allows you to use the tools in the ArcGIS SDK for JavaScript within the React environment, facilitates communication between your widgets, and provides UI elements that you can use in your widget.
To build your first custom widget, use VSCode to open the sample widget that is available in your Experience Builder Developer Edition instance. From there, you can look at this collection of sample Experience Builder widgets that Esri has provided to find out how best to make your widget.
Deploying your Experience Builder Website
Once you have created your Experience Builder website, you can now share it with the world! Unlike normal Experience Builder, which is hosted on ArcGIS Online, Dev Edition websites are exported as zip folders containing static files that can be hosted as a static website. There are many cheap static hosting services available that allow you to use your own domain name, but if you aren’t picky about your websites domain name, you can host it on GitHub pages for free.
To host your Experience Builder website on GitHub pages, follow these general steps:
- Download GitHub Desktop.
- Open GitHub Desktop and log into your GitHub account.
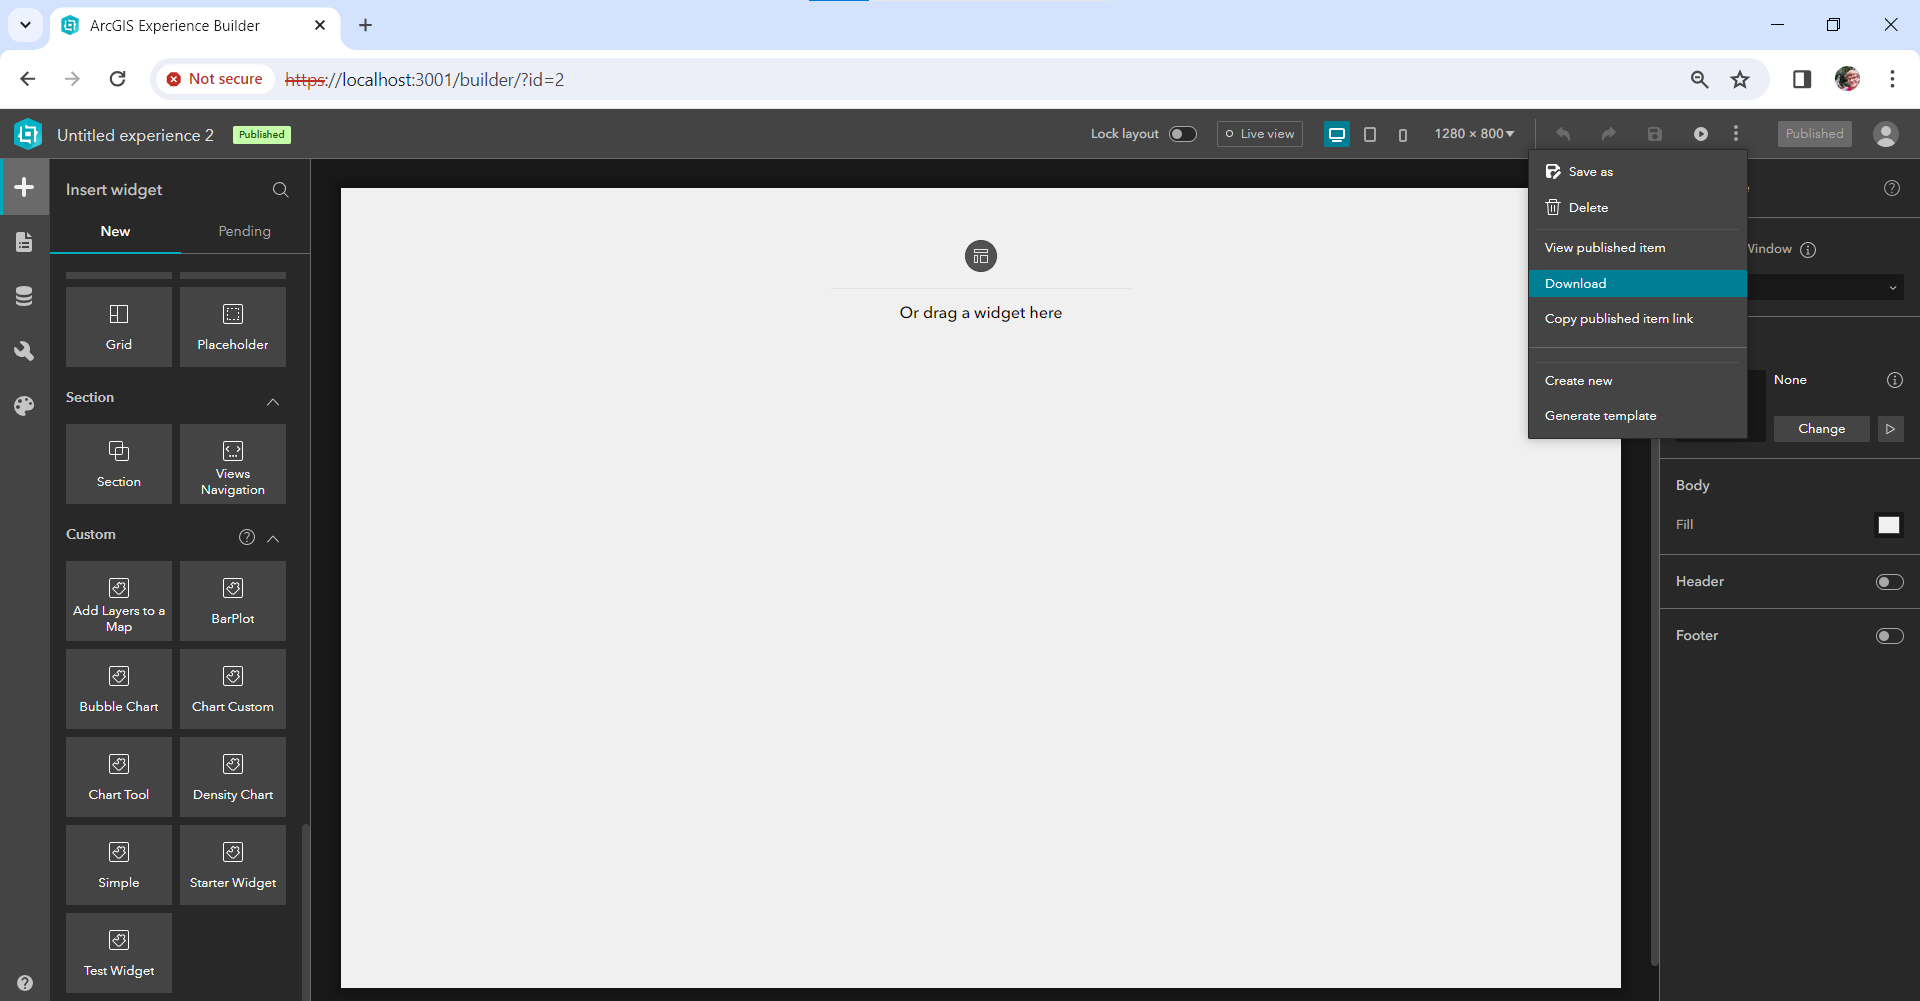
- In Experience Builder Dev, open your website and click “Publish”.
- Once your website has finished “publishing”, click on the button with three dots and then click “Download” (see the image below). This will download a zip folder to your machine.
- Unzip your zip folder.
- Create a new GitHub repository for your unzipped folder using GitHub Desktop.
- In GitHub Desktop, publish your repository to GitHub online. Set its visibility to “Public”.
- In GitHub Online, open your repository, then go to Settings>Publish to publish your website to GitHub Pages.
Experience Builder Dev vs. the ArcGIS SDK for JavaScript
In addition to Experience Builder Dev, Esri has developed the ArcGIS SDK for JavaScript. This SDK allows you to build fully customized web maps and apps from scratch using vanilla JavaScript or a frontend web framework of your choice. Using the SDK allows you to code web maps, apps, and dashboards without needing to know React or set up Experience Builder Dev. However, the SDK does not allow you to use any of the pre-made widgets or themes from Experience Builder. Further, you will not be able to use the drag-and-drop editor from Experience Builder, meaning that you would need to have a strong understanding of CSS in order to create a fully responsive, mobile friendly map or dashboard using the JavaScript SDK. A full tutorial on how to get started with the ArcGIS SDK for JavaScript will be presented in a future blog post.
Additional Resources
Learning ArcGIS Experience Builder Dev Edition takes time and practice. Here are some additional resources to help you learn Experience Builder Dev:
- Experience Builder Developer Edition Documentation
- Intro to React
- ArcGIS SDK for JavaScript Documentation
- Jimu Documentation
- Jimu UI Elements
- Using third-party JavaScript libraries in Experience Builder
- Widget communication (Tutorial 2.1)
- Designing custom themes in Experience Builder
- Sample Code for Custom Widgets
In addition, I recommend consulting this excellent series of blog posts by Jonathan Van Duzen on choosing the right ArcGIS app builder from a UI/UX design perspective.