
COVID-19 Web Mapping Application: step-by-step
Hello,
My name is Scarlett, and I am a third-year undergraduate student at the University of Toronto Mississauga, studying Geographical Information Systems (GIS).
After the World Health Organization announced COVID-19 a pandemic, on March 19, 2020, I viewed an Esri Canada webinar presented by Chris North and Mike Gregotski called “Responding to the COVID-19 Crisis with Free ArcGIS Hub Resources”. They provided users with a template to create their own COVID-19 dashboard for their organization.
This got me thinking. I wanted to see if I could create a Web Mapping Application solely using ArcGIS Online. Although it came with some tough times, I was able to present the data provided by Esri to create my spin on the COVID-19 crisis. And today, you will be able to do it too!
Here is the link to my COVID-19 Web Map: https://arcg.is/1T8rjz
This Web Mapping Application consists of four (4) layers that can be turned on and off to complement each other: Confirmed Cases, Confirmed Cases (in the form of a heat map), Recovered Cases, and Death Cases.
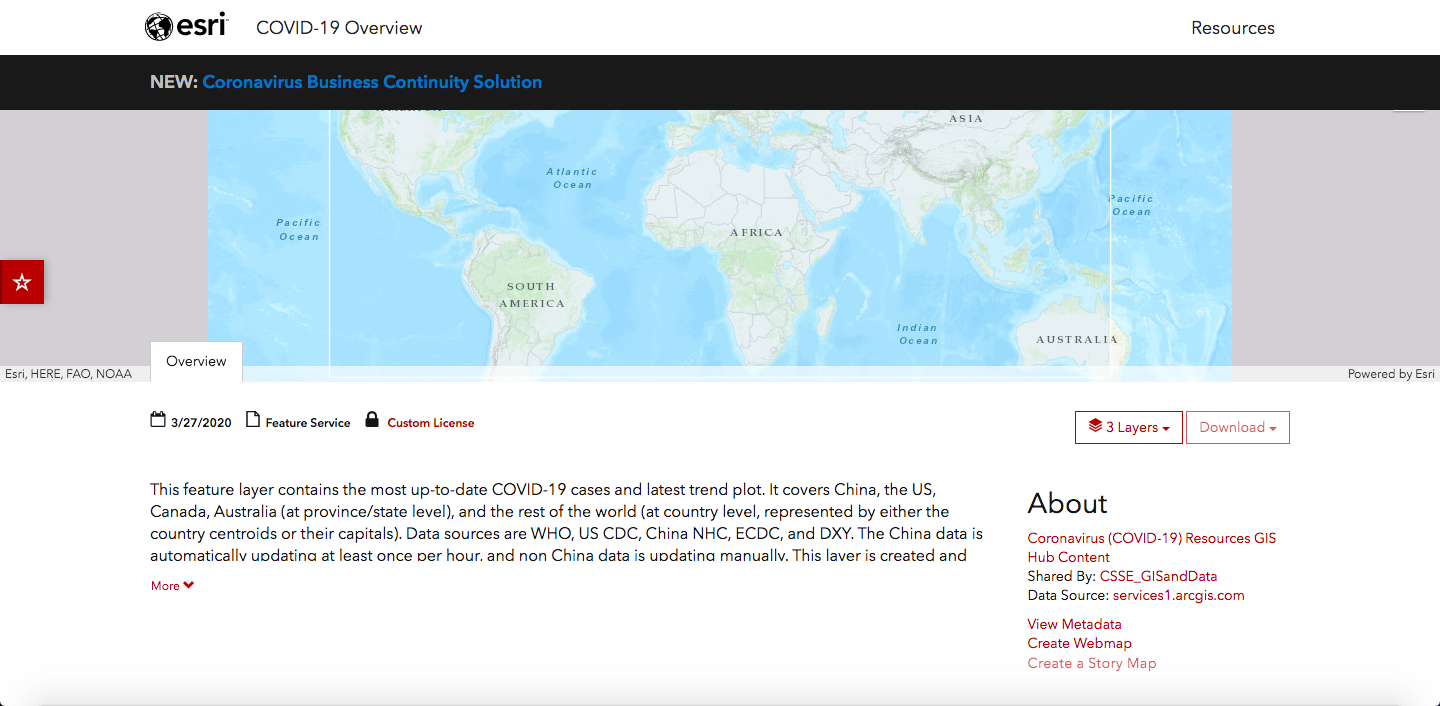
Step 1: Collect the Covid-19 Data
As mentioned before, this was all done by using ArcGIS Online. I went to Esri’s COVID-19 GIS Hub, and I scrolled down to “Featured Datasets”. From here, you can select any data that you would like to highlight for your COVID-19 Web Map. I chose to feature the COVID-19 cases. The GIS Hub is very convenient. You can easily use it to create your Web Map by clicking “Create Webmap” when viewing a data set (seen below). From here, you can change the basemap to suit your preference.
Step 2: Change the “style” of the data

Once your desired data is added to your map, you will be able to view the layers in the contents on the left. You can change the properties of each layer, including its symbology by clicking the “Change Style” icon (the third icon under each layer). You can change the size, colour and transparency of the symbols. You can play around with the different options and layers to see what you like.
Step 3: Convert from Web Map to Web Mapping Application
After saving your Webmap, you are able to share it for everyone to view. This can be done by clicking the “Share” button on top. Click on “Create a Web App” and decide what style you want your web map to look like.
Step 4: Share your COVID-19 Webmap
I chose to use the Basic Viewer from the Configurable Apps. When you configure your app, you can make adjustments to the settings and appearance of the Application. I decided to change the “Theme” settings to use the “Tool sidebar” layout. In the “Toolbar Options” section of the “Options” tab, I chose to include the a Legend. Once you are satisfied with the presentation of your Webmap, click “Save”. When you view the application, the share button in the Basic Viewer application’s toolbar provides a short link to your Webmap that you can share, or optionally provides a code snippet to embed the application in other web pages.
Happy mapping!
Scarlett